Describe the symptom without embedding a theory
“The latch is too weak” is a conclusion. “The lid opened during the third transfer after the rear corner touched the table” is an observation. The second statement preserves clues that the first discards. It may reveal an alignment problem, an incomplete closure, an impact response, or a geometry issue rather than insufficient material strength.
Record the prototype's identifiers, revision, material, process, and any hand modifications. Add the reference objects, environment, operator action, and point in the sequence. Photographs and video can help, but they should be connected to a written description of what happened.
NASA's verification reporting guidance includes discrepancies and their disposition. For a small project, a numbered failure record serves the same practical purpose: an issue remains visible until there is evidence for its resolution.
Preserve evidence and distinguish competing explanations
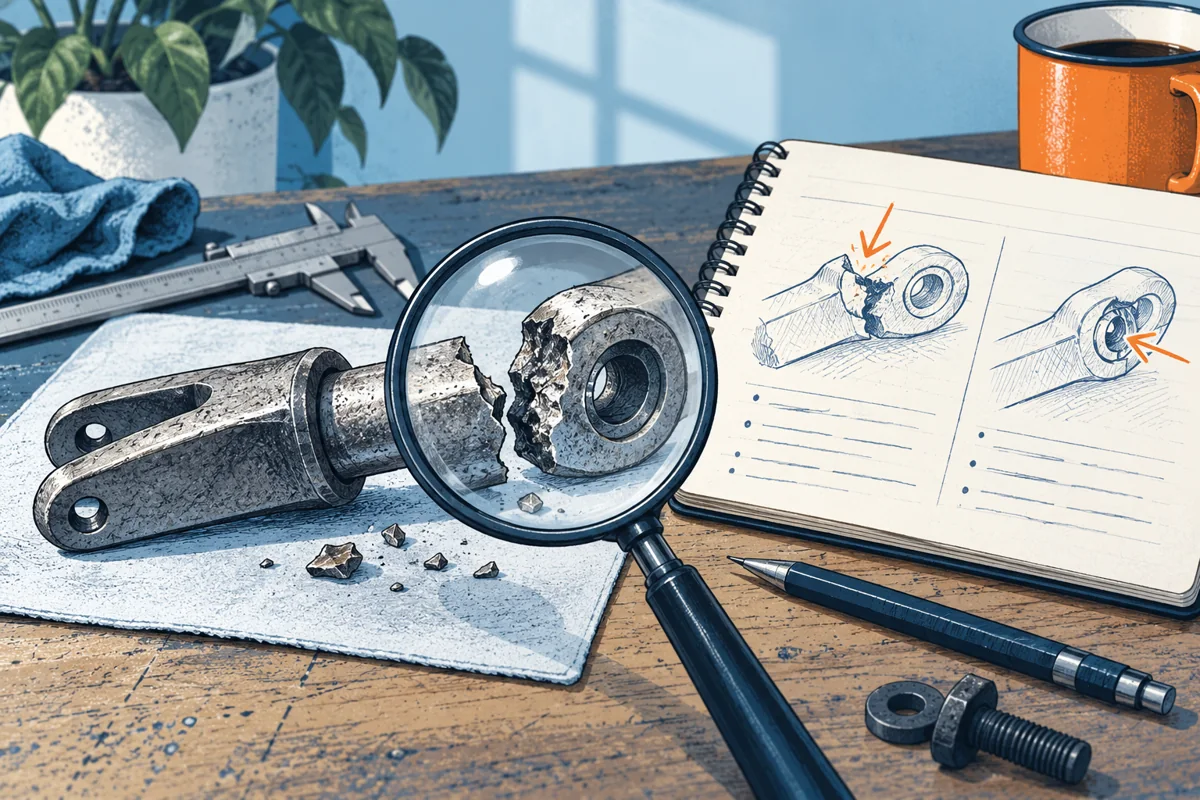
Do not immediately glue, file, or replace the failed feature. Retain the original state long enough to photograph contact marks, measure relevant dimensions, and inspect adjacent parts. If a repair is needed for a demonstration, document it as a separate configuration.
List plausible causes and the evidence that would distinguish them. A jam might come from a narrow opening, a warped insert, an incorrect revision, or an assembly sequence problem. Measuring the actual contact region may eliminate several explanations without a new build.
Rank investigations by consequence and effort. Check simple factual possibilities such as wrong parts or units before commissioning a complex material analysis. This is not a reason to dismiss difficult causes; it is a way to avoid expensive work based on an unverified premise.
A hypothetical adjustable-stand failure
An inventor observes that an adjustable stand occasionally collapses when moved. The first hypothesis is that the locking tooth needs to be thicker. Before changing it, the inventor records ten controlled repositioning attempts and notes the lock's initial engagement in each. The count is exploratory and does not establish reliability.
The collapses occur when the selector appears closed but has not fully seated. Close inspection shows that a nearby cosmetic wall blocks the last portion of travel. Increasing tooth thickness would not address that cause and might make engagement harder.
The designer changes the obstructing wall and adds a clearer indication of full engagement. The correction is then tested against the same repositioning sequence, including deliberate partial-engagement situations appropriate to a safe bench study. The test also checks that the new wall geometry does not interfere with the user's grip.
The record closes with the observed cause, the revised configuration, the retest result, and remaining durability questions. It does not say simply fixed, because future readers need to know what was fixed and what was never investigated.
Verify the correction and check for side effects
A corrective change should have a stated mechanism: removing the interference allows full selector travel, for example. This makes the retest more meaningful than a broad demonstration that the product works. If the issue cannot be reproduced consistently, retain that uncertainty rather than asserting a proven root cause.
Repeat the relevant original conditions and any conditions introduced by the change. A stiffer feature may solve deflection while increasing operating force. A larger clearance may solve a jam while allowing rattle or accidental release. Identify those coupled behaviors before closing the issue.
Do not combine unrelated changes if you need to understand causation. Sometimes schedule pressure justifies a package of changes, but the conclusion should then be that the package improved the result, not that one specific change was proven responsible.
Build a small issue system that remains usable
Use fields for issue ID, configuration, symptom, evidence, hypotheses, investigation, decision, corrective revision, retest, and status. Keep statuses concrete: observed, investigating, correction proposed, awaiting retest, or closed with evidence. Avoid marking an issue complete merely because a CAD edit exists.
Link related failures. Several symptoms may share an interface problem, while identical symptoms can have different causes. Retain enough detail to distinguish them. If a supplier is involved, send the factual record and relevant measurements rather than an accusatory summary.
Your deliverable is an evidence-backed change history. Over several iterations it becomes a valuable design asset: it prevents repeated mistakes, explains why features exist, and helps a new collaborator continue the work without rediscovering every failed assumption.